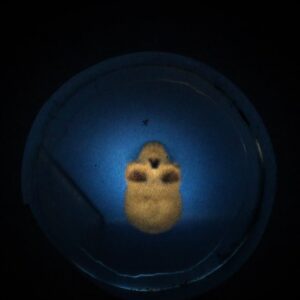
Year 10 Photography students explored the physics of photography by making their own cameras!
The first type of camera ever invented was called a camera obscura, which is Latin for “dark room.” At first, that’s exactly what it was – a dark room with a tiny hole that allowed a narrow beam of light to enter. This beam produced a “real image” of outside objects on the wall opposite the hole. Artists used this technique to produce accurate and realistic pictures, although this technique was kept a secret for many years. These cameras didn’t take pictures, though – light-sensitive materials like film weren’t invented until much later.
A pinhole camera viewer is just a portable version of this ancient camera obscura.
In a modern camera, a lens is used to bend the light waves into a narrow beam, through the aperture and produces an image on the film or chip. In a pinhole camera viewer, the hole acts like the aperture by only allowing a narrow beam of light to enter. As light beams travel in straight lines, it forms the same type of upside-down, reversed image as a camera obscura, so you can see how one would work by making this pinhole viewer.
With photographic paper and the right developing materials, you can make a pinhole camera that will actually produce photographs. In this project, though, we made a pinhole camera viewer that allows you to see a real image and recorded it using a digital camera.
Materials:
· A long cylindrical can with a metal bottom like the kind Pringles come in.
· Tracing paper
· 1 sheet black construction paper
· Strong tape
· Glue
· Straight pin
· Ruler
Procedure:
1. Use a ruler to measure 5cm up from the bottom of the can, and mark the spot. Do this several more times around the can, then connect the marks so you have a line going all the way around. Cut the can in two pieces along this line.
2. Make a hole in the centre of the metal bottom of the can. This step requires some patience, because you want it to be a tiny, smooth hole. You can tap the top of the pin with a heavy object, but then turn it as you push it through the metal so that your edges will be smooth.
3. Next, use the Pringles lid to draw a circle onto tracing paper and cut it out. Cut out the centre of the lid and replace it with the tracing paper.
4. Glue this over the top of the short part of the can. This will be your viewing screen, or “film.”
5. Put the long part of the can back on top of the short part and tape the two pieces together so they form one tube again.
6. Roll the piece of black construction paper into a tube and insert it part-way into the open end of the can. This will act as a light-shielding eyepiece for your camera.
Now you are ready to use your camera viewer! The viewer gives best results using a strong light source so take your camera outside and see the world upside down!
You can also try to use your camera indoors. Place an object such as a flower or pencil, or even your hand, under a bright lamp so it is well lit. Point the pinhole end of the camera viewer at it and look through the black paper eyepiece. This will be easier if the room is dark except for the lamp.
You should see a colour image of the object on the tracing paper screen. Move your camera viewer forward and back until the object is in focus. Don’t get confused when trying to centre the object in your viewer! The image is upside-down and reversed, so you will have to move the it in the opposite direction from what you expect.
Next, we used a tripod, lamp and digital camera to capture an image using our pinhole camera viewer. We needed a slow shutter speed and small aperture – f22 – in order to capture the image as sharply as we could. Here you can see the result!


